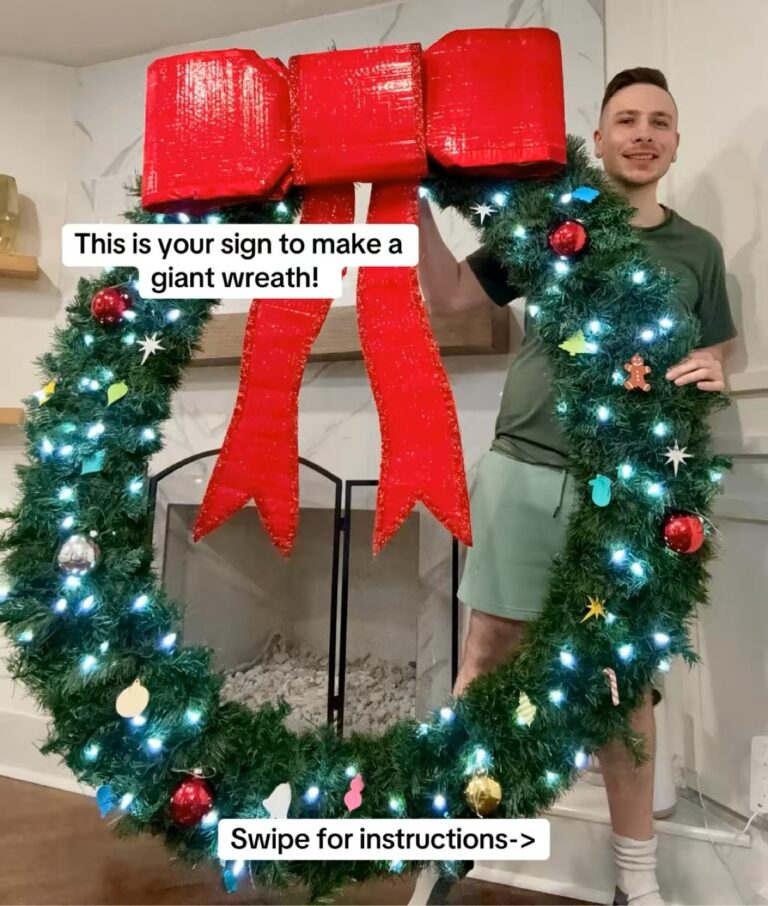
This is your sign to make a giant wreath. A store-bought wreath this size costs a fortune — so I built mine from cheap materials and stuff I already had lying around. It is big, it is bold, and it looks incredible hanging on the house. Here is exactly how I did it, step by step.
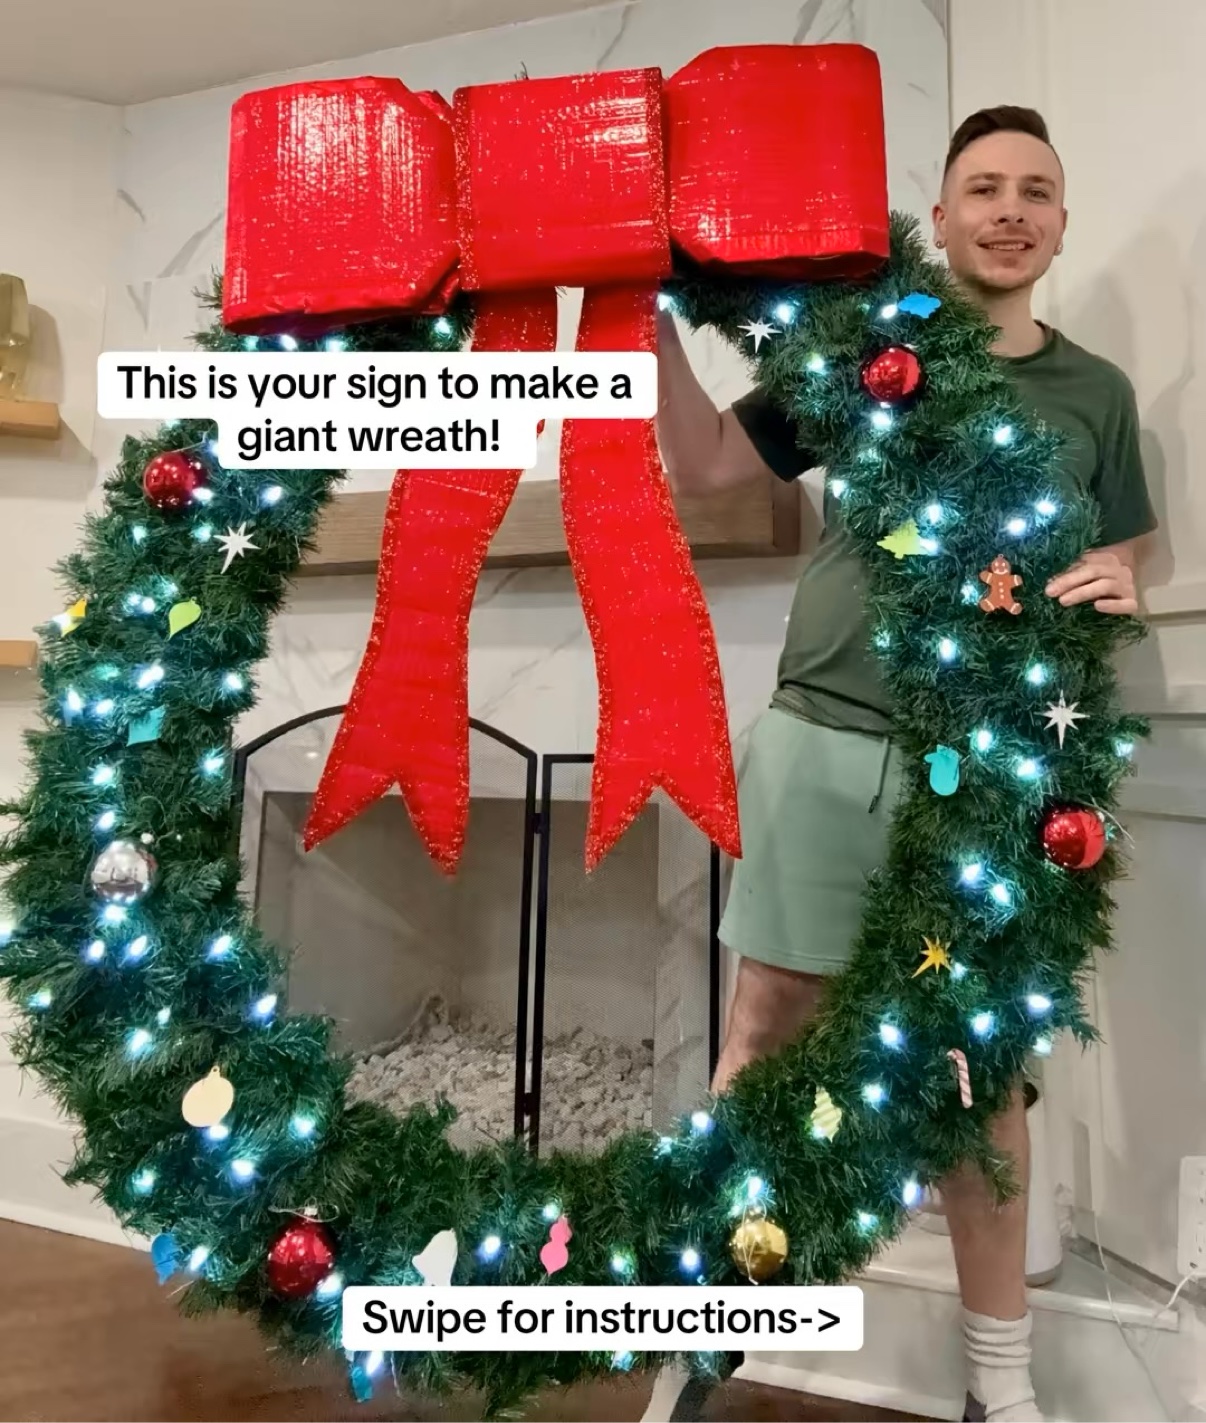
What You Will Need
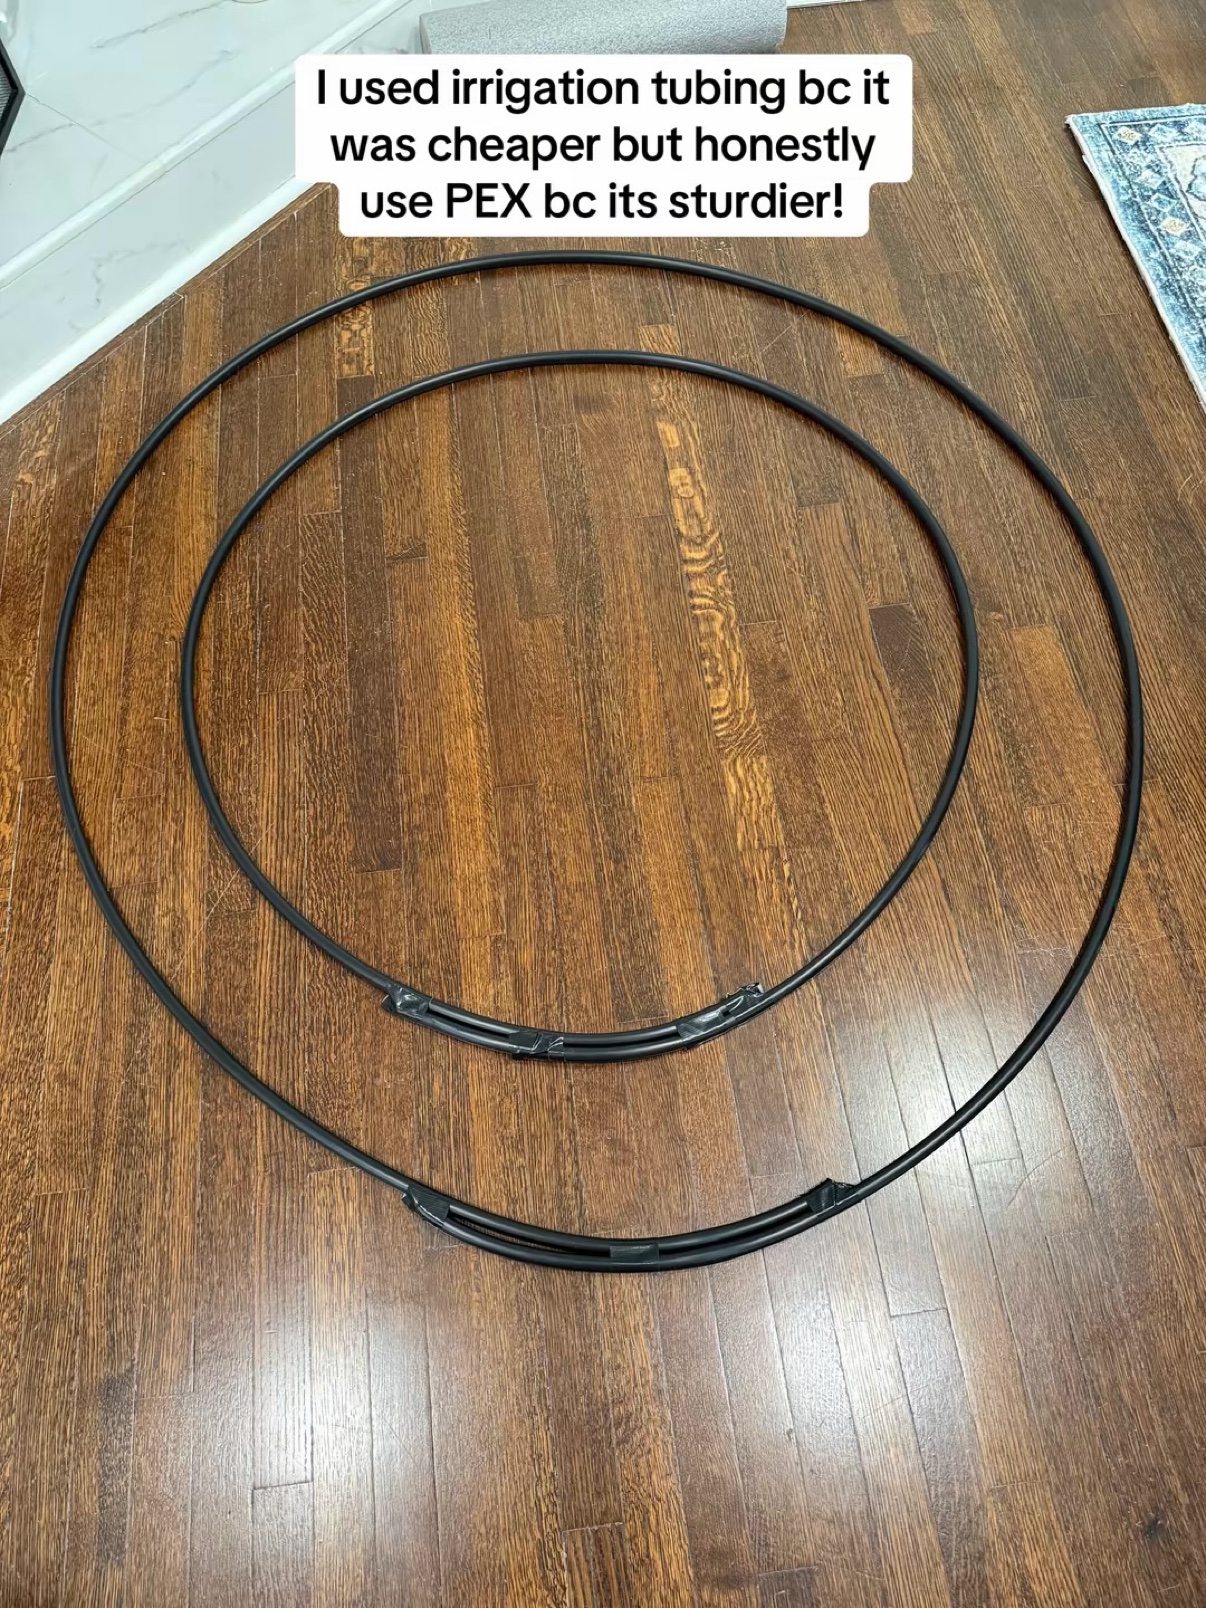
- PEX tubing for the form (I used irrigation tubing because it was cheaper, but honestly, use PEX — it is sturdier!)
- Insulation foam board, cut into pieces
- Zip ties
- 3 x 50 ft non-wired, unlit garland
- Dollar Tree wire garland
- Insulation bubble wrap (for the bow)
- Red permanent vinyl — or red fabric if you have it (you could probably paint it, too!)
- Deco mesh
- Glitter sticker paper and ribbon (for trimming the bow edges)
- Hot glue
- 2 strands of lights
- Ornaments
- Rope, for hanging
Step 1: Make the Form
Start with two big rings of tubing laid out on the floor. I used irrigation tubing because it was cheaper — but if I did it again, I would use PEX. It is sturdier, and this thing gets heavy once the garland goes on.
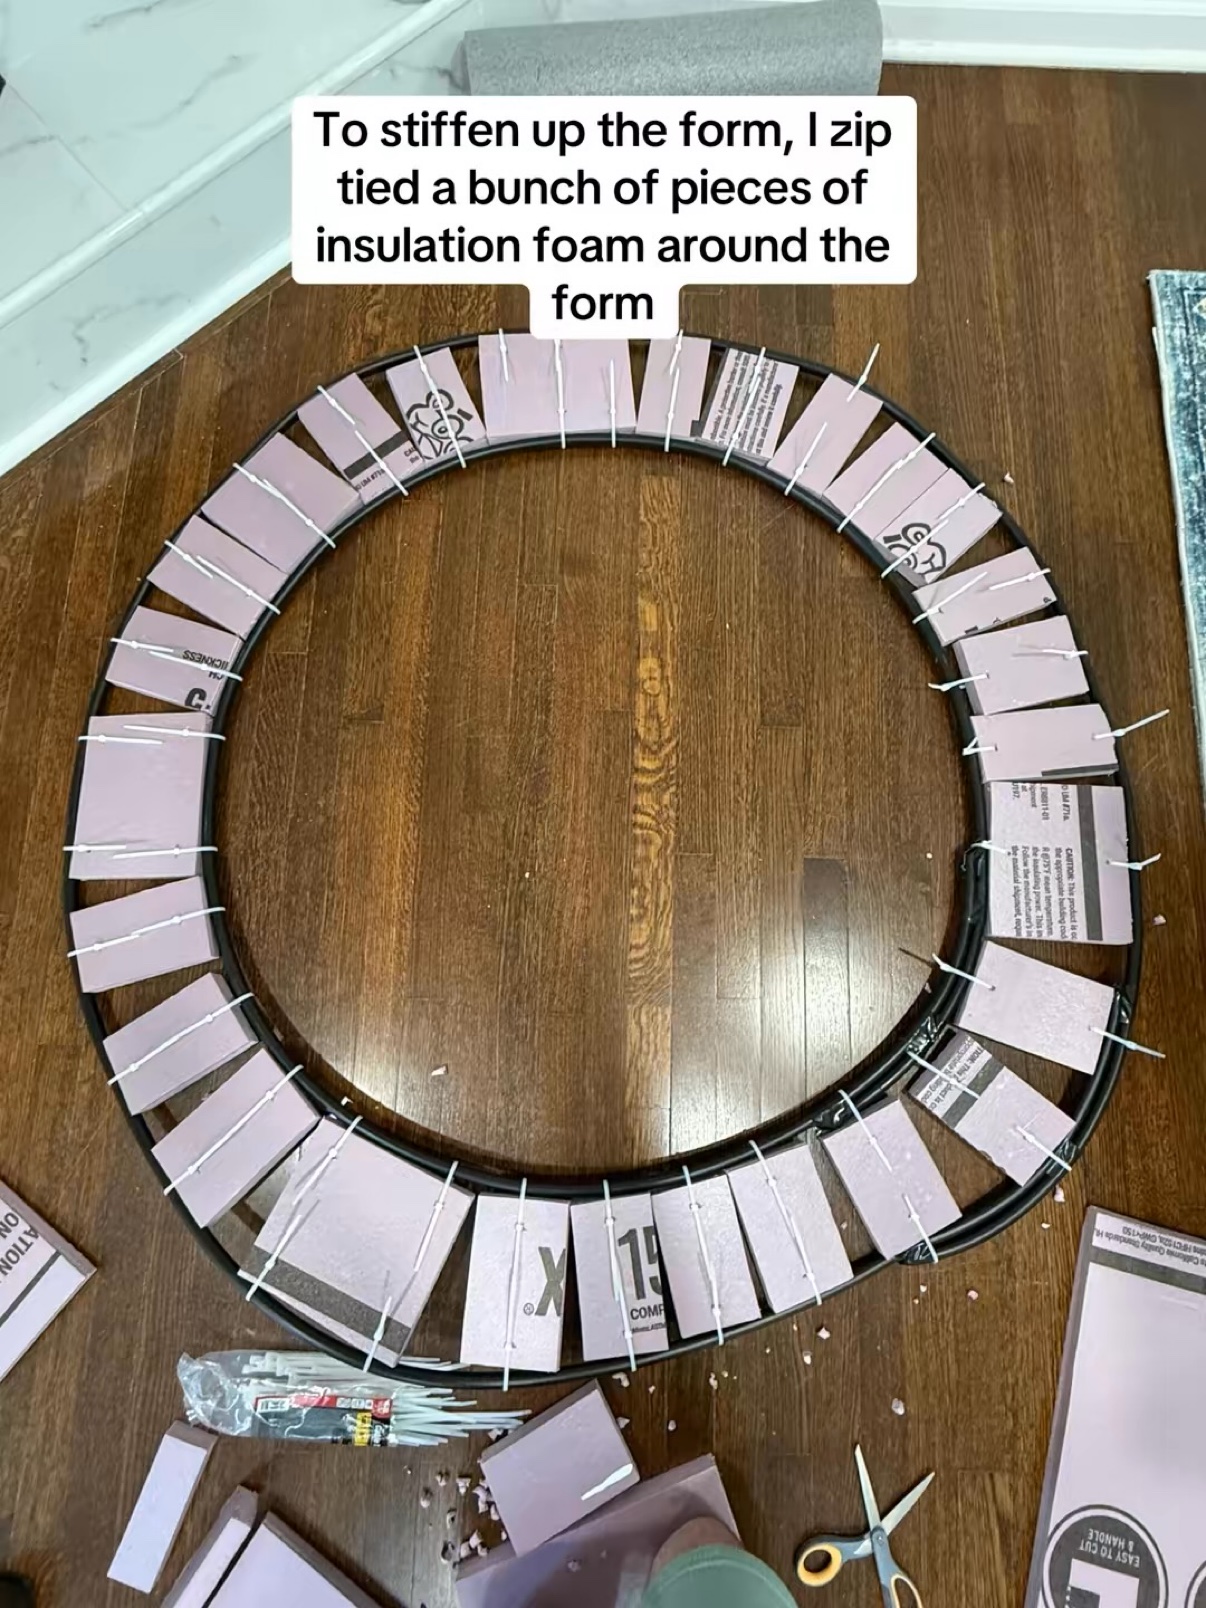
Step 2: Stiffen the Form
To stiffen up the form, I zip tied a bunch of pieces of insulation foam around it. This gives the garland something to grip and keeps the whole thing from flopping around.
Step 3: Wrap the Garland
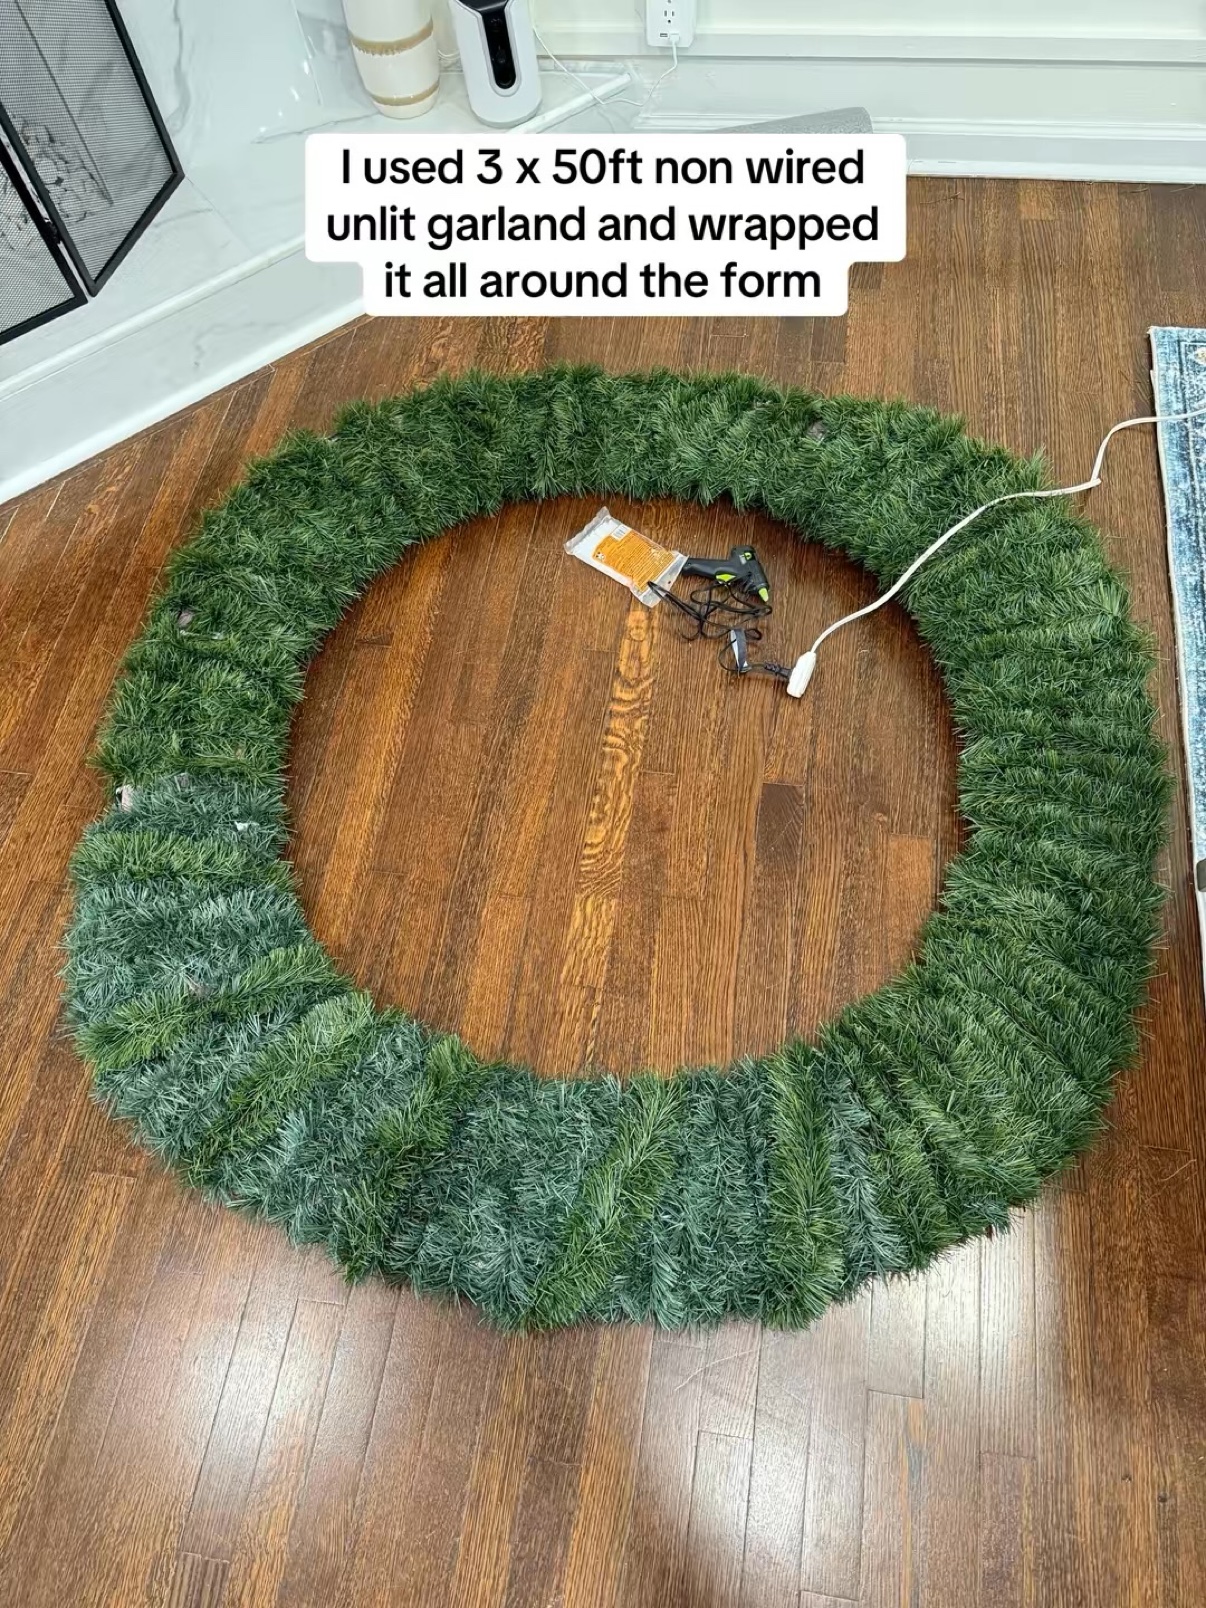
I used 3 x 50 ft of non-wired, unlit garland and wrapped it all around the form until it was completely covered.
Step 4: Add Dimension
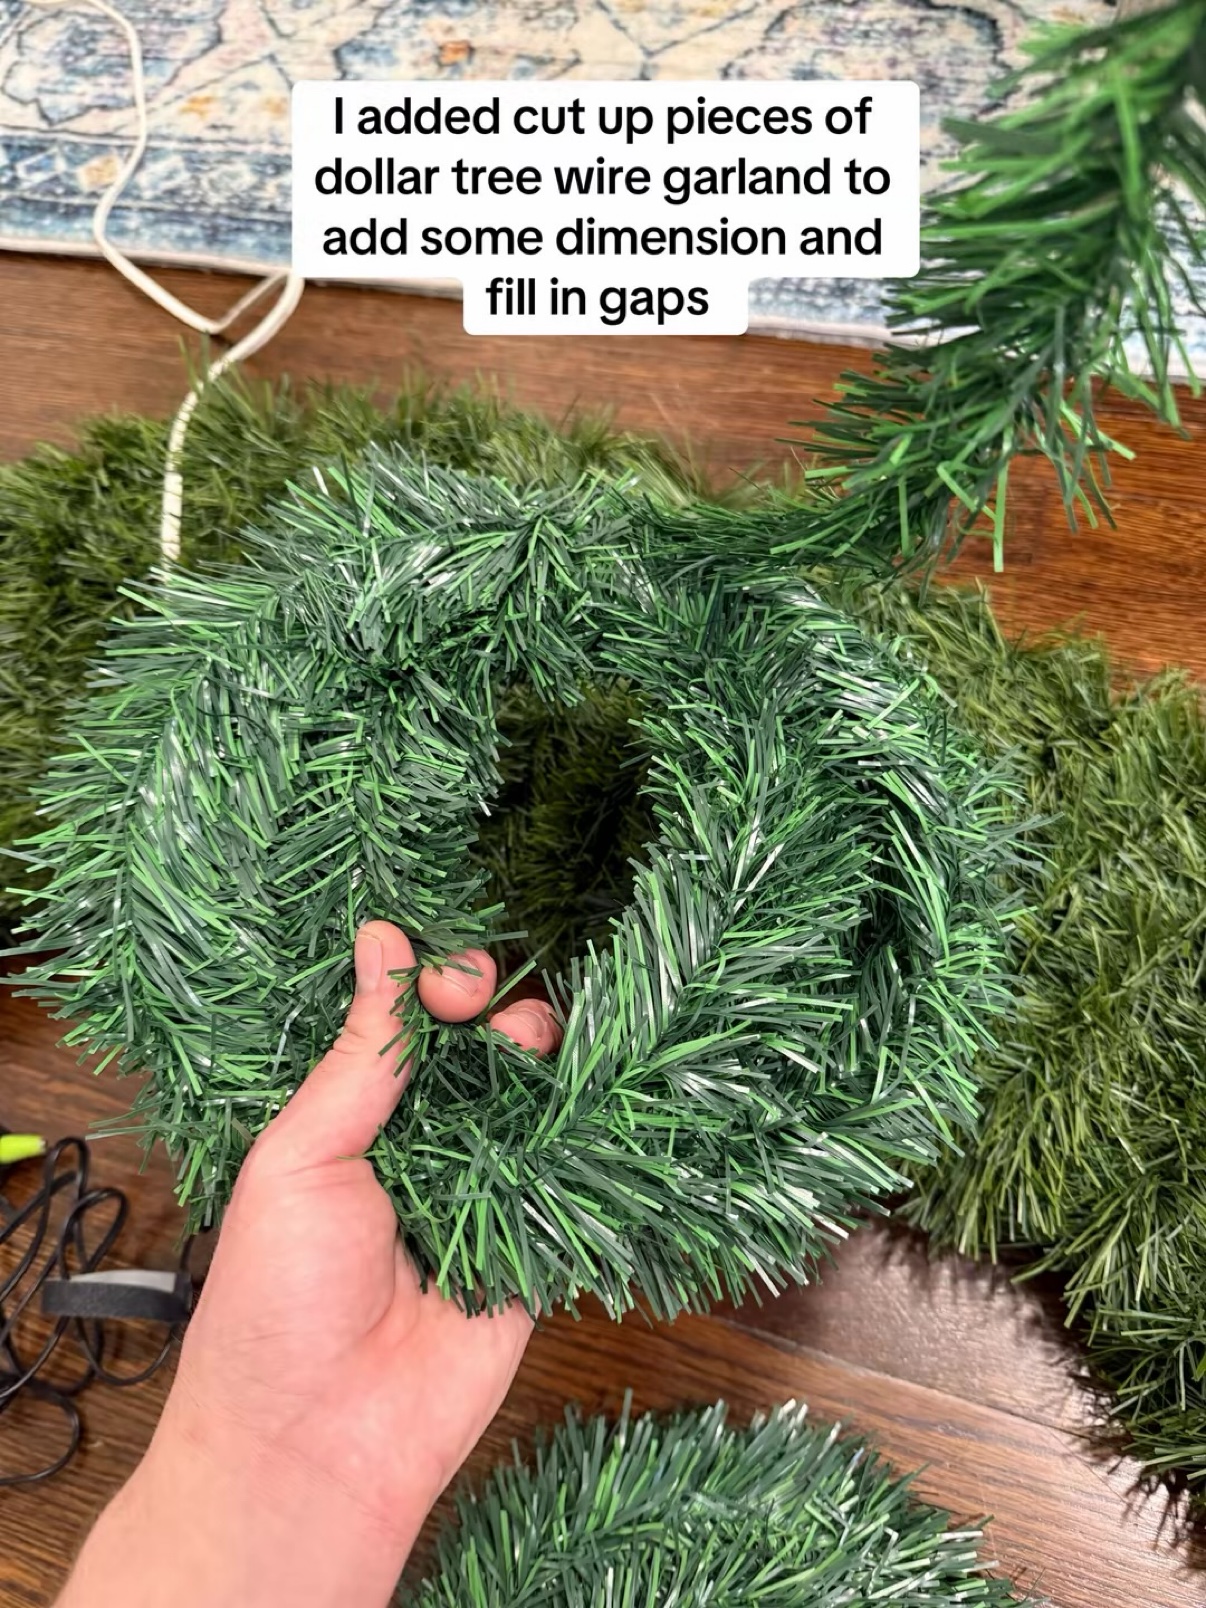
Then I added cut-up pieces of Dollar Tree wire garland to add some dimension and fill in the gaps. This is the trick that makes it look full instead of flat.
Step 5: Build the Bow
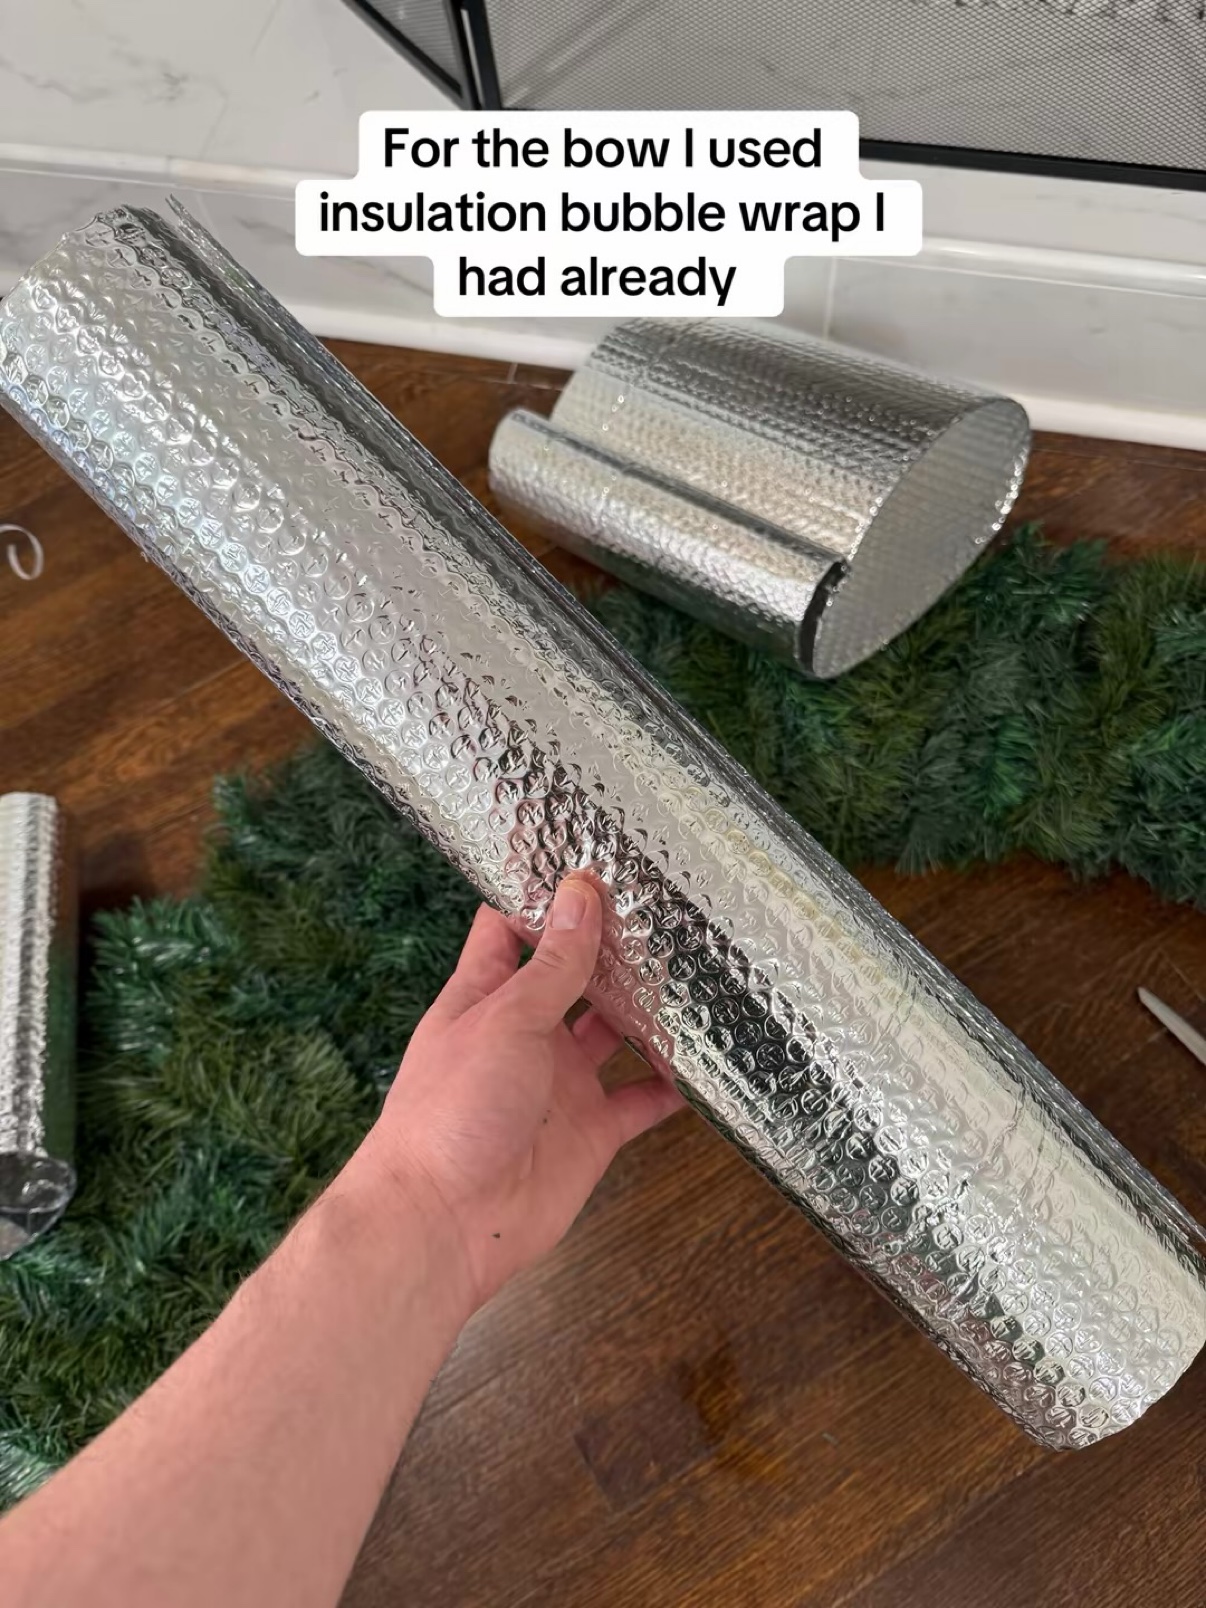
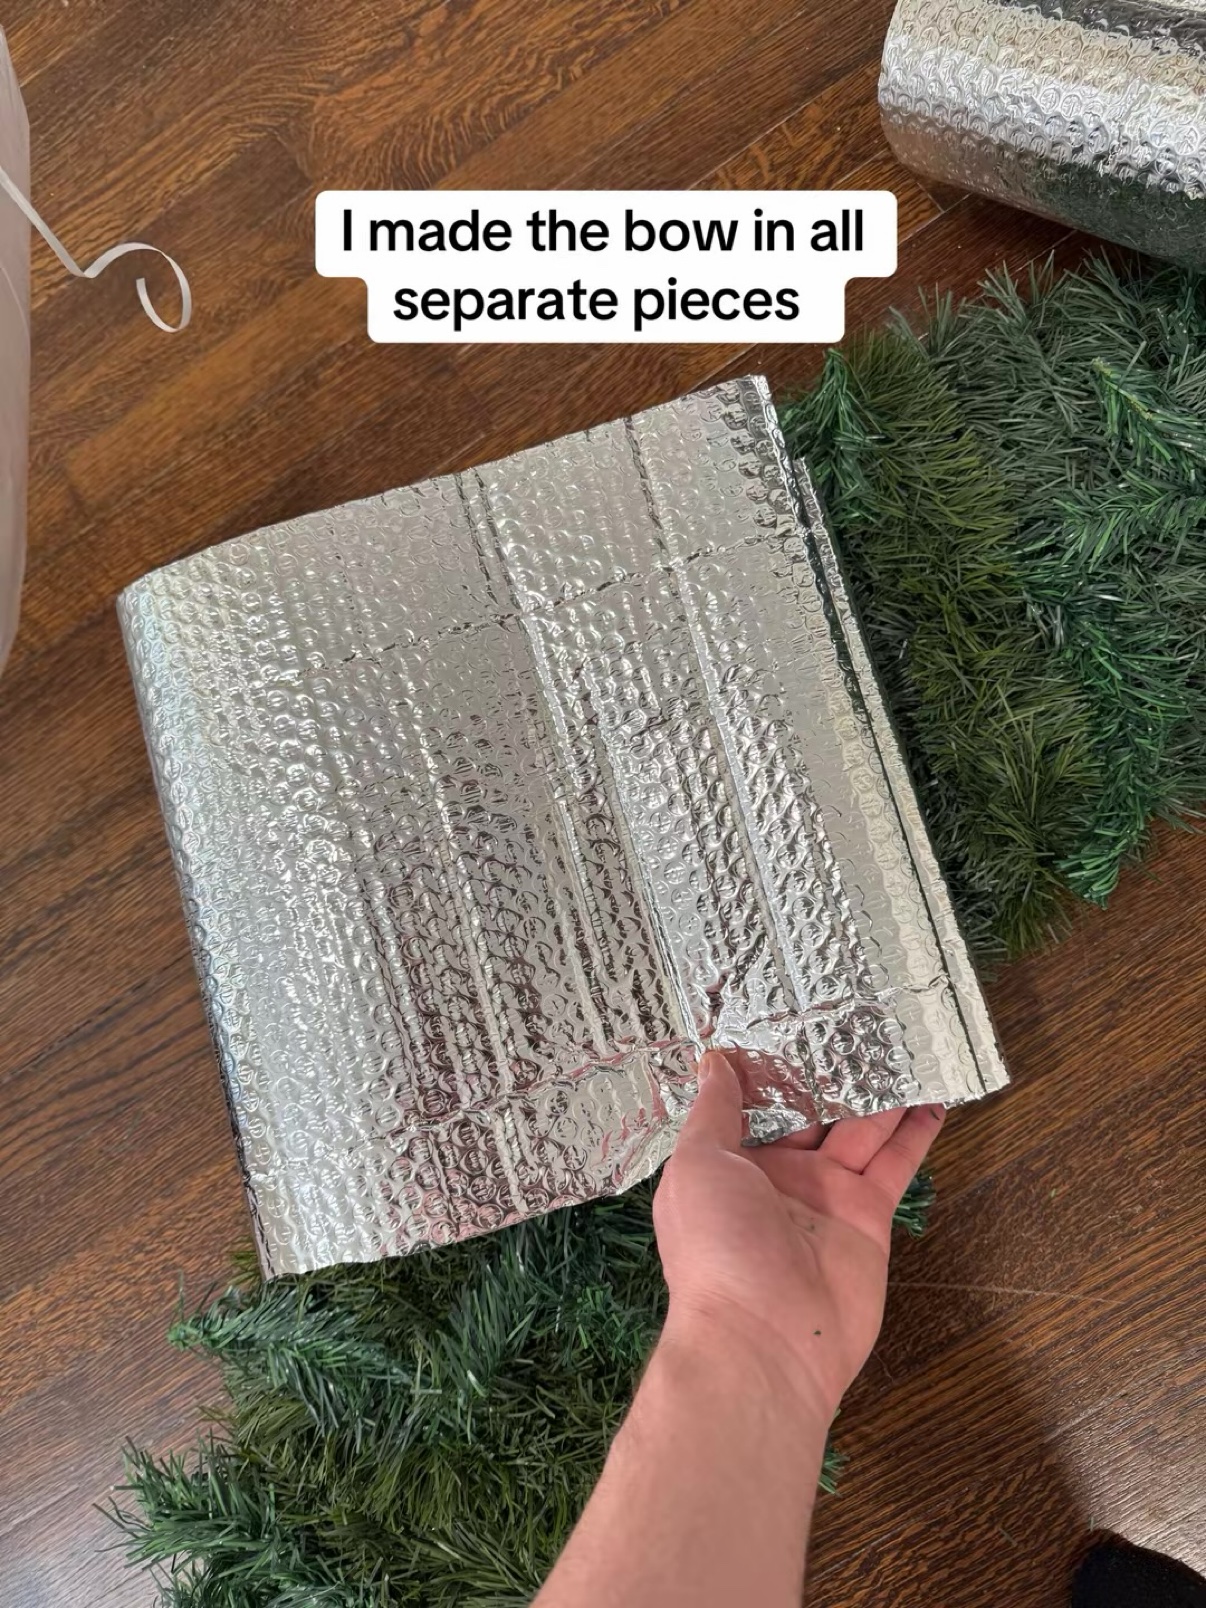
For the bow, I used insulation bubble wrap I already had. I made the bow in all separate pieces — two loops, two tails, and a middle piece — instead of trying to shape one big bow.
Step 6: Cover the Bow in Red
I did not have red fabric, so I used red permanent vinyl to cover the bow pieces. If you do not have vinyl either, you could probably paint it!
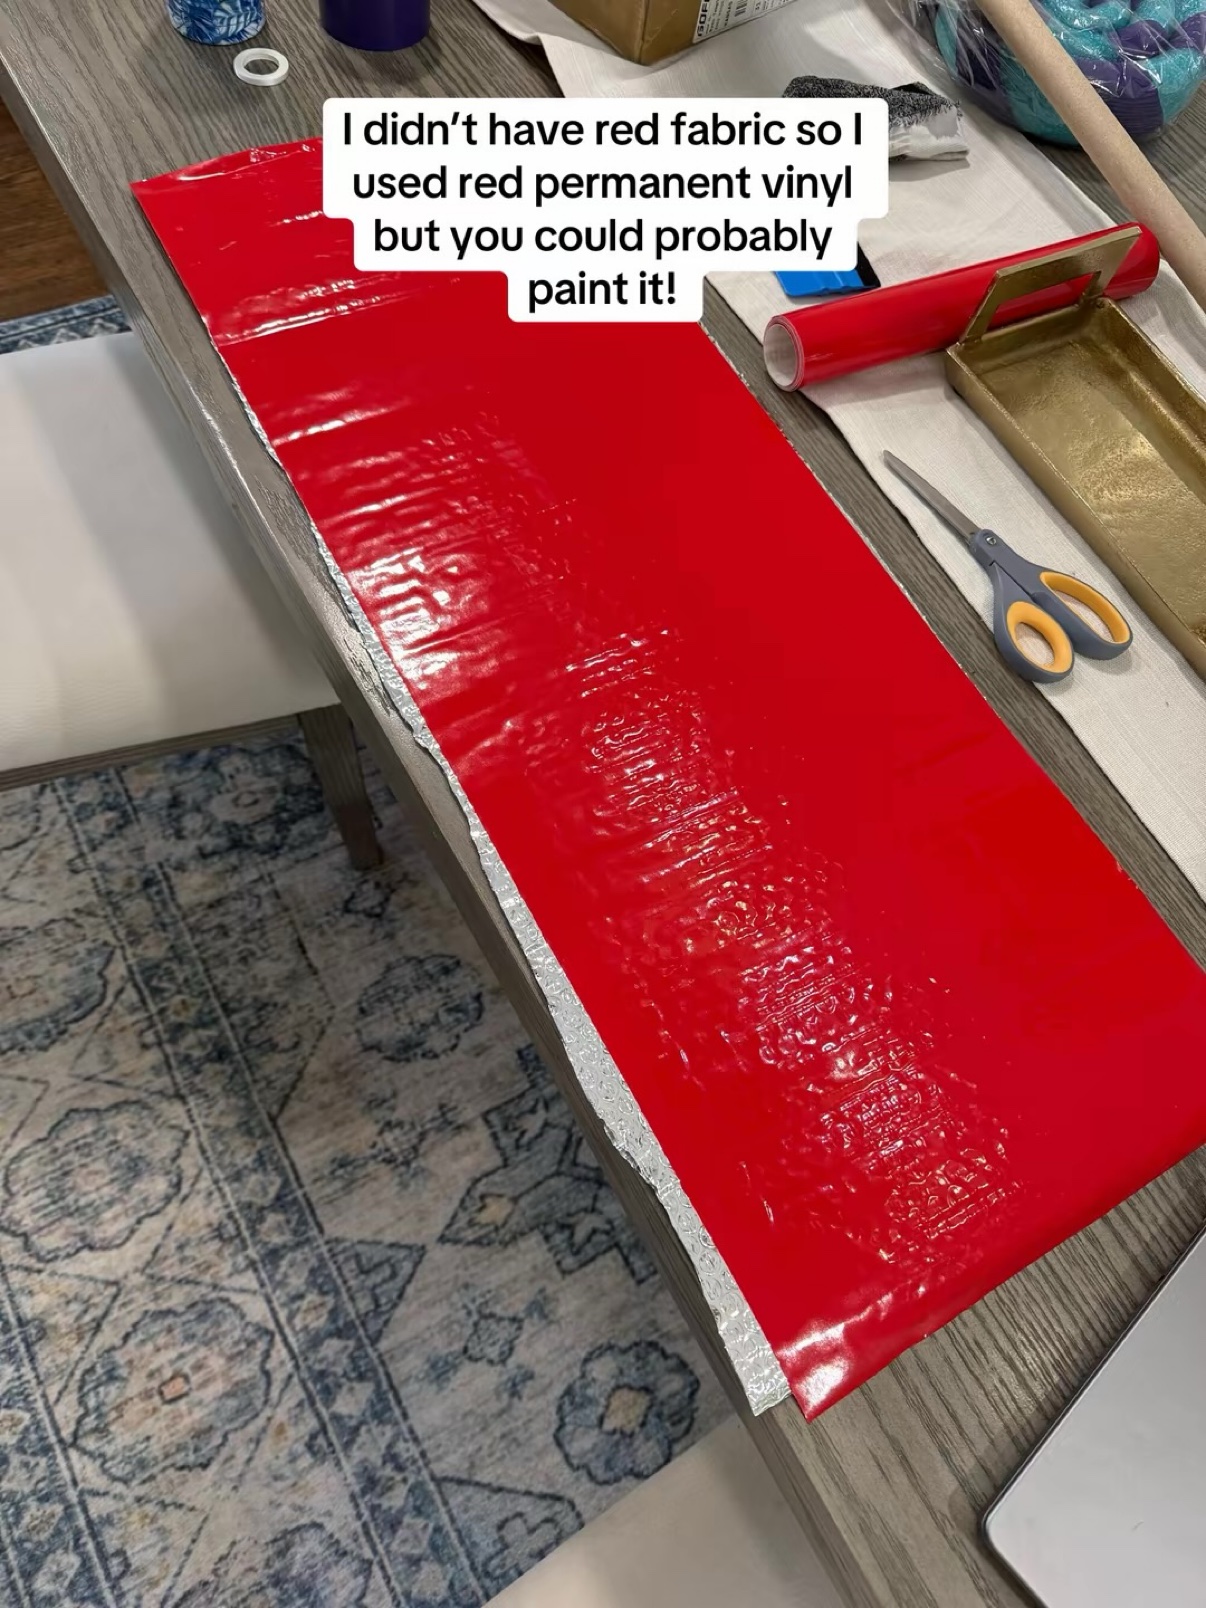
Step 7: Dress Up the Bow
The bow pieces were plain, so I added deco mesh on top with hot glue. Then I trimmed the edges with glitter sticker paper and ribbon for a finished look.
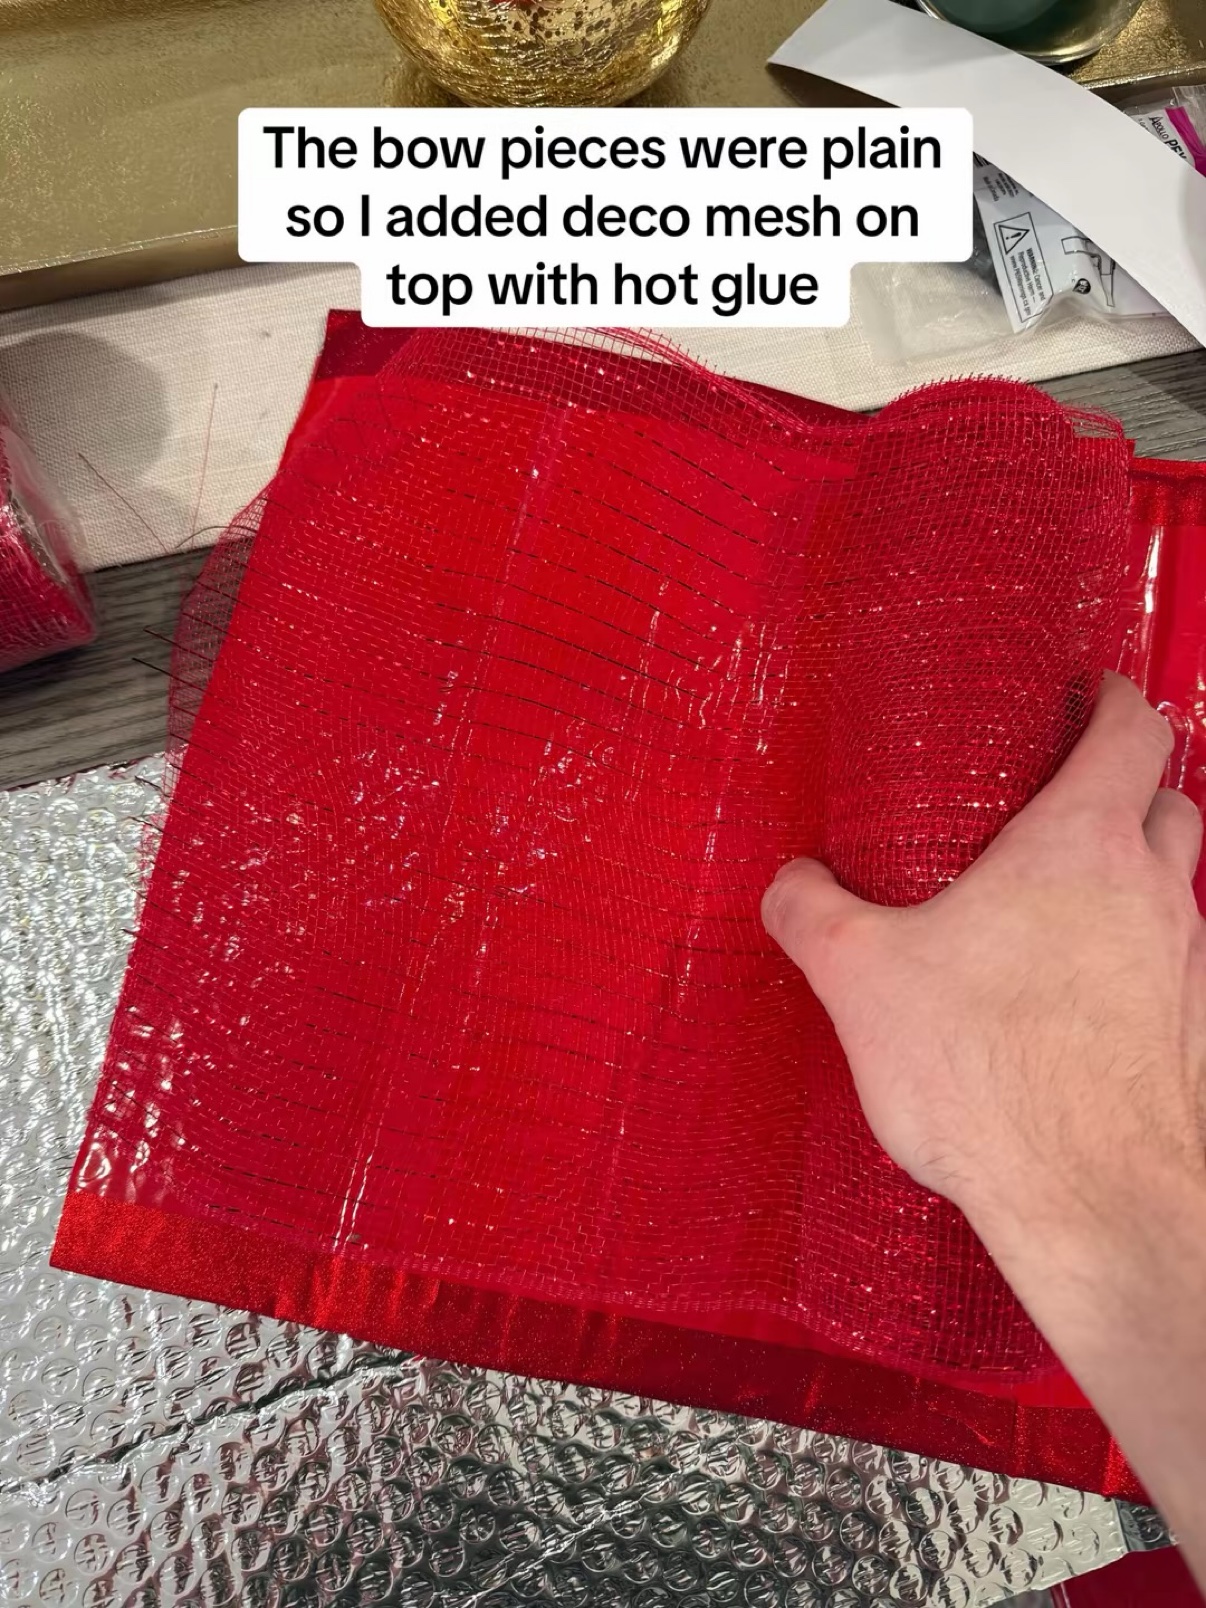
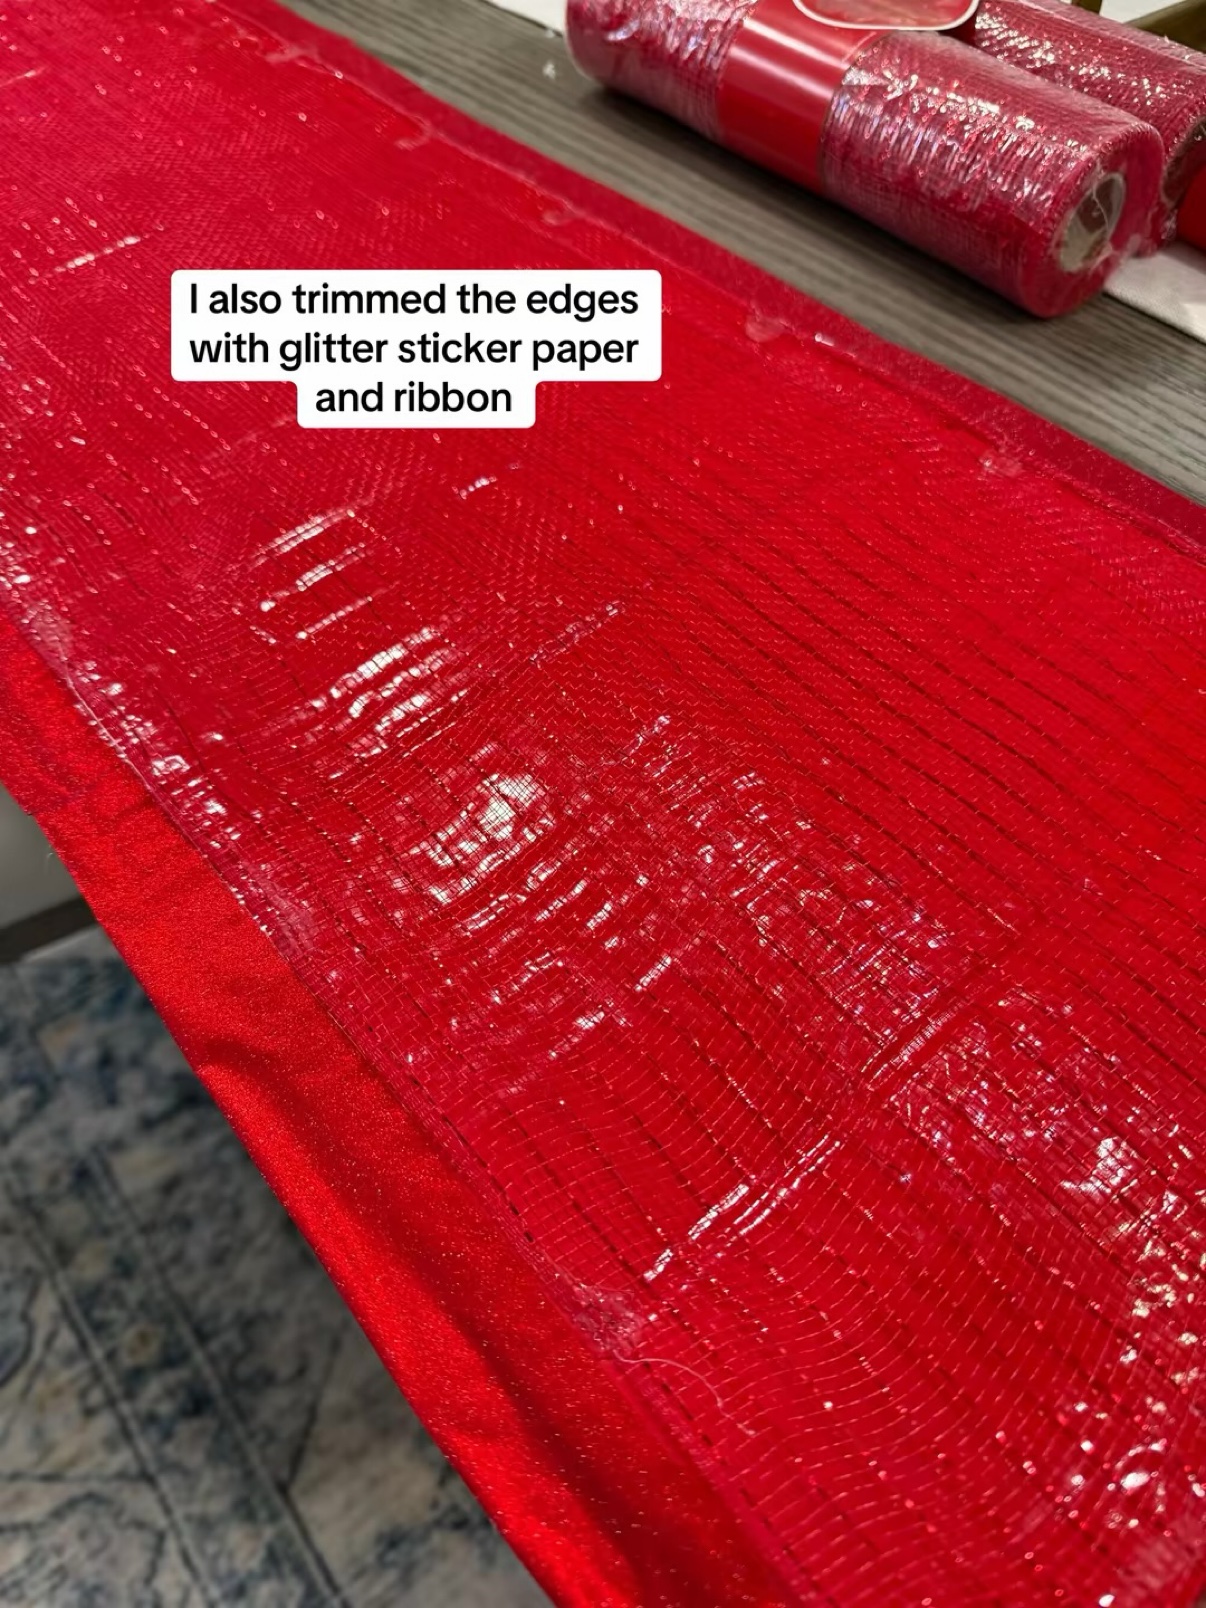
Step 8: Attach the Bow
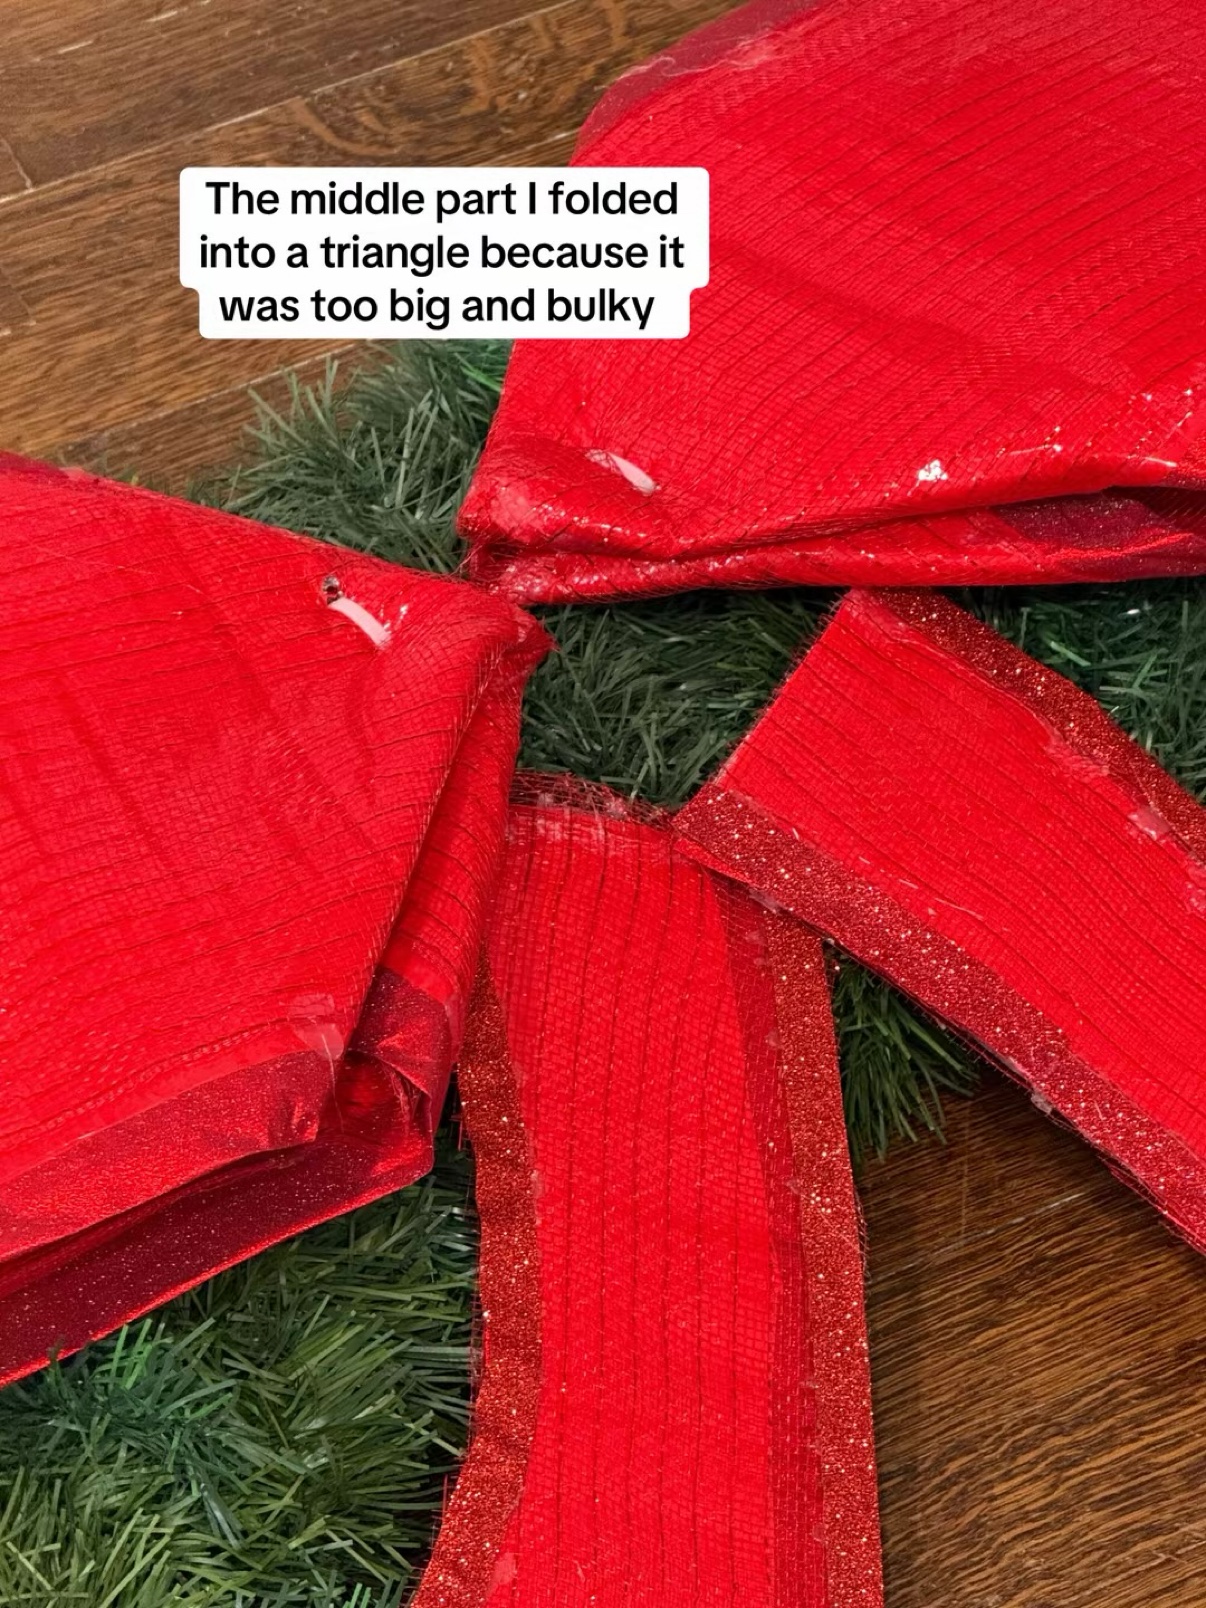
I zip tied the bow pieces to the wreath, then added a middle piece to cover the middle of the bow after. One tip: the middle part I folded into a triangle because it was too big and bulky otherwise.
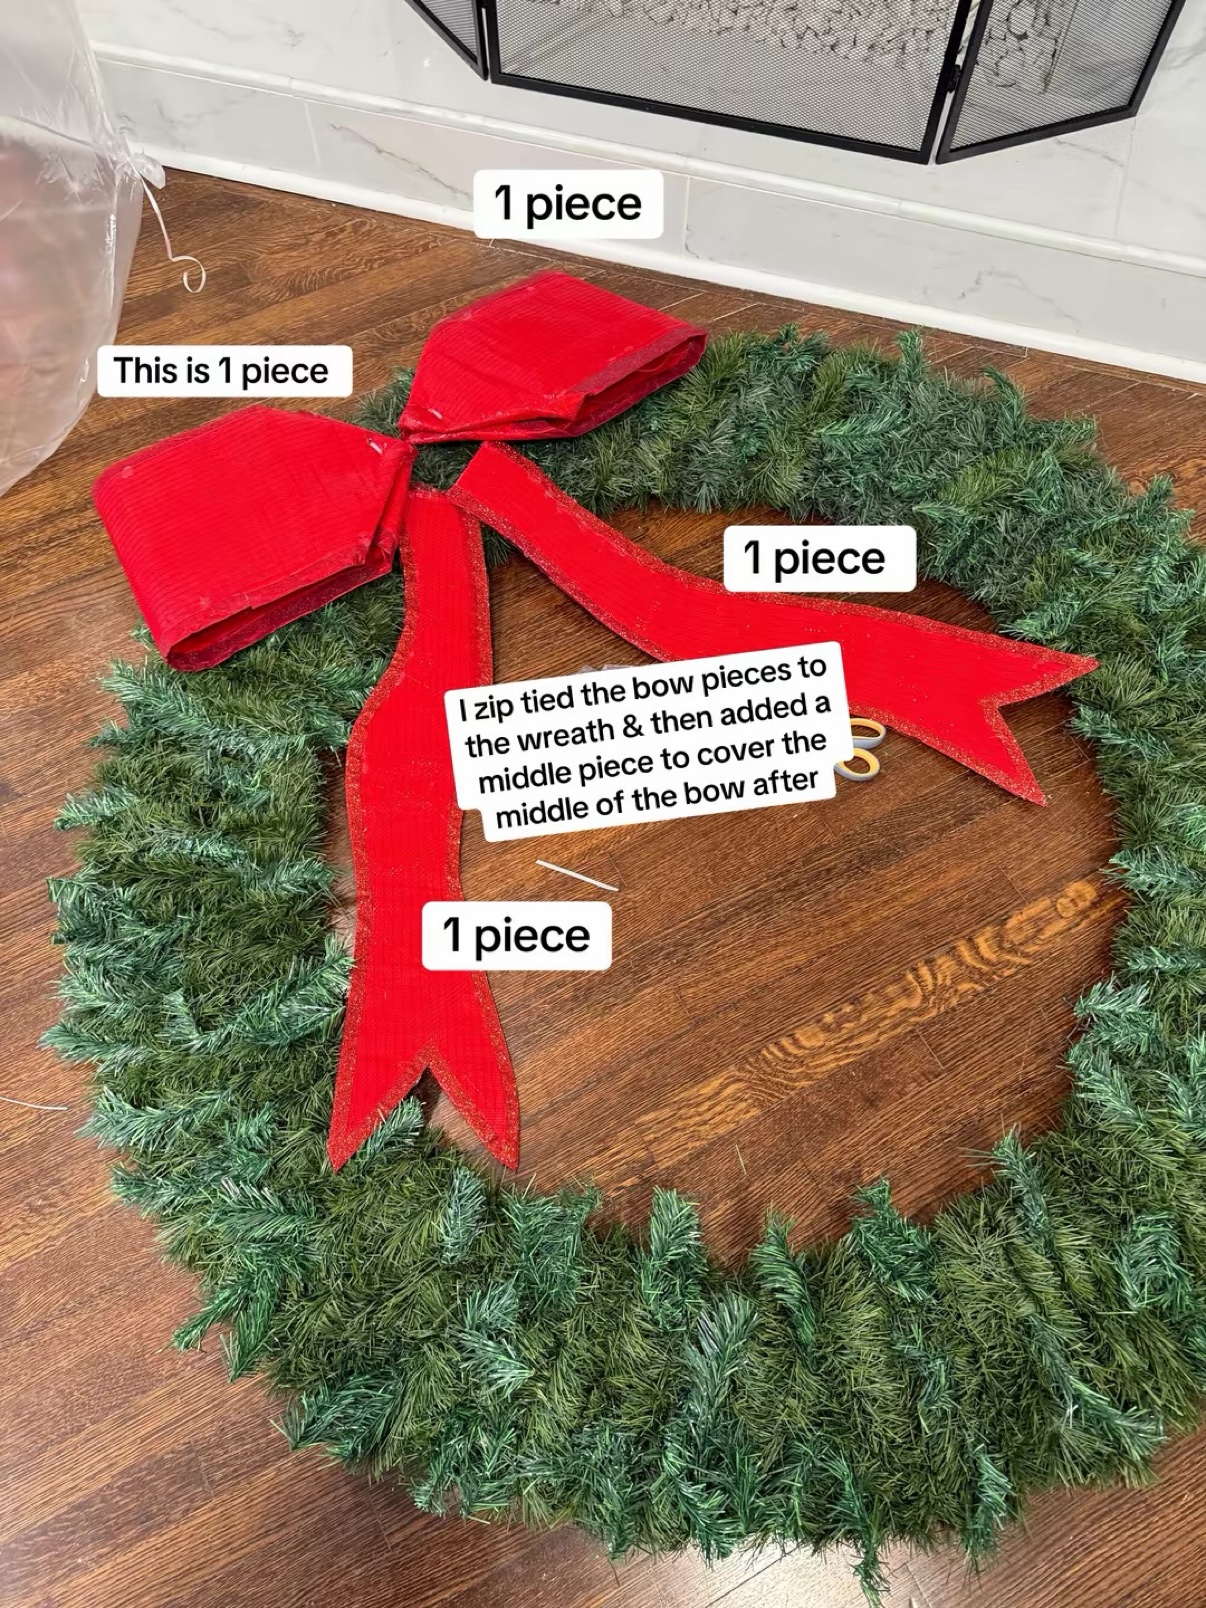
Step 9: Lights and Ornaments
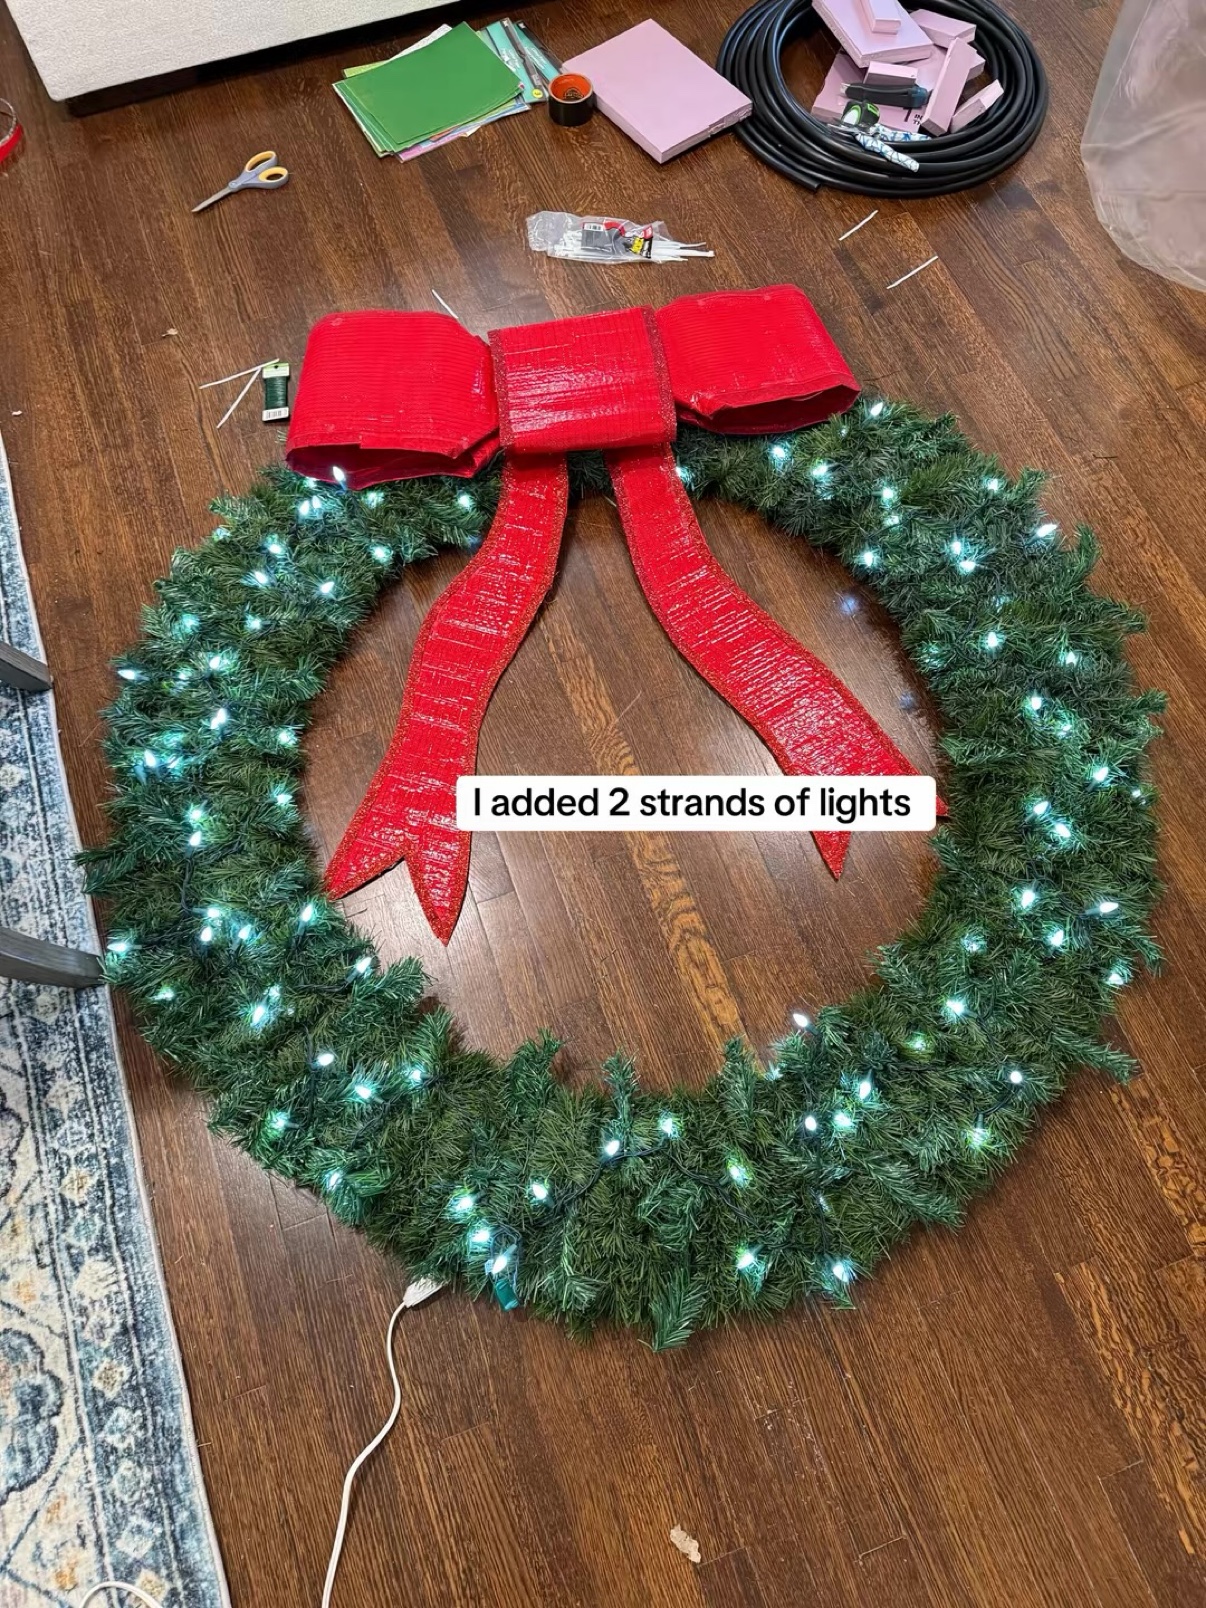
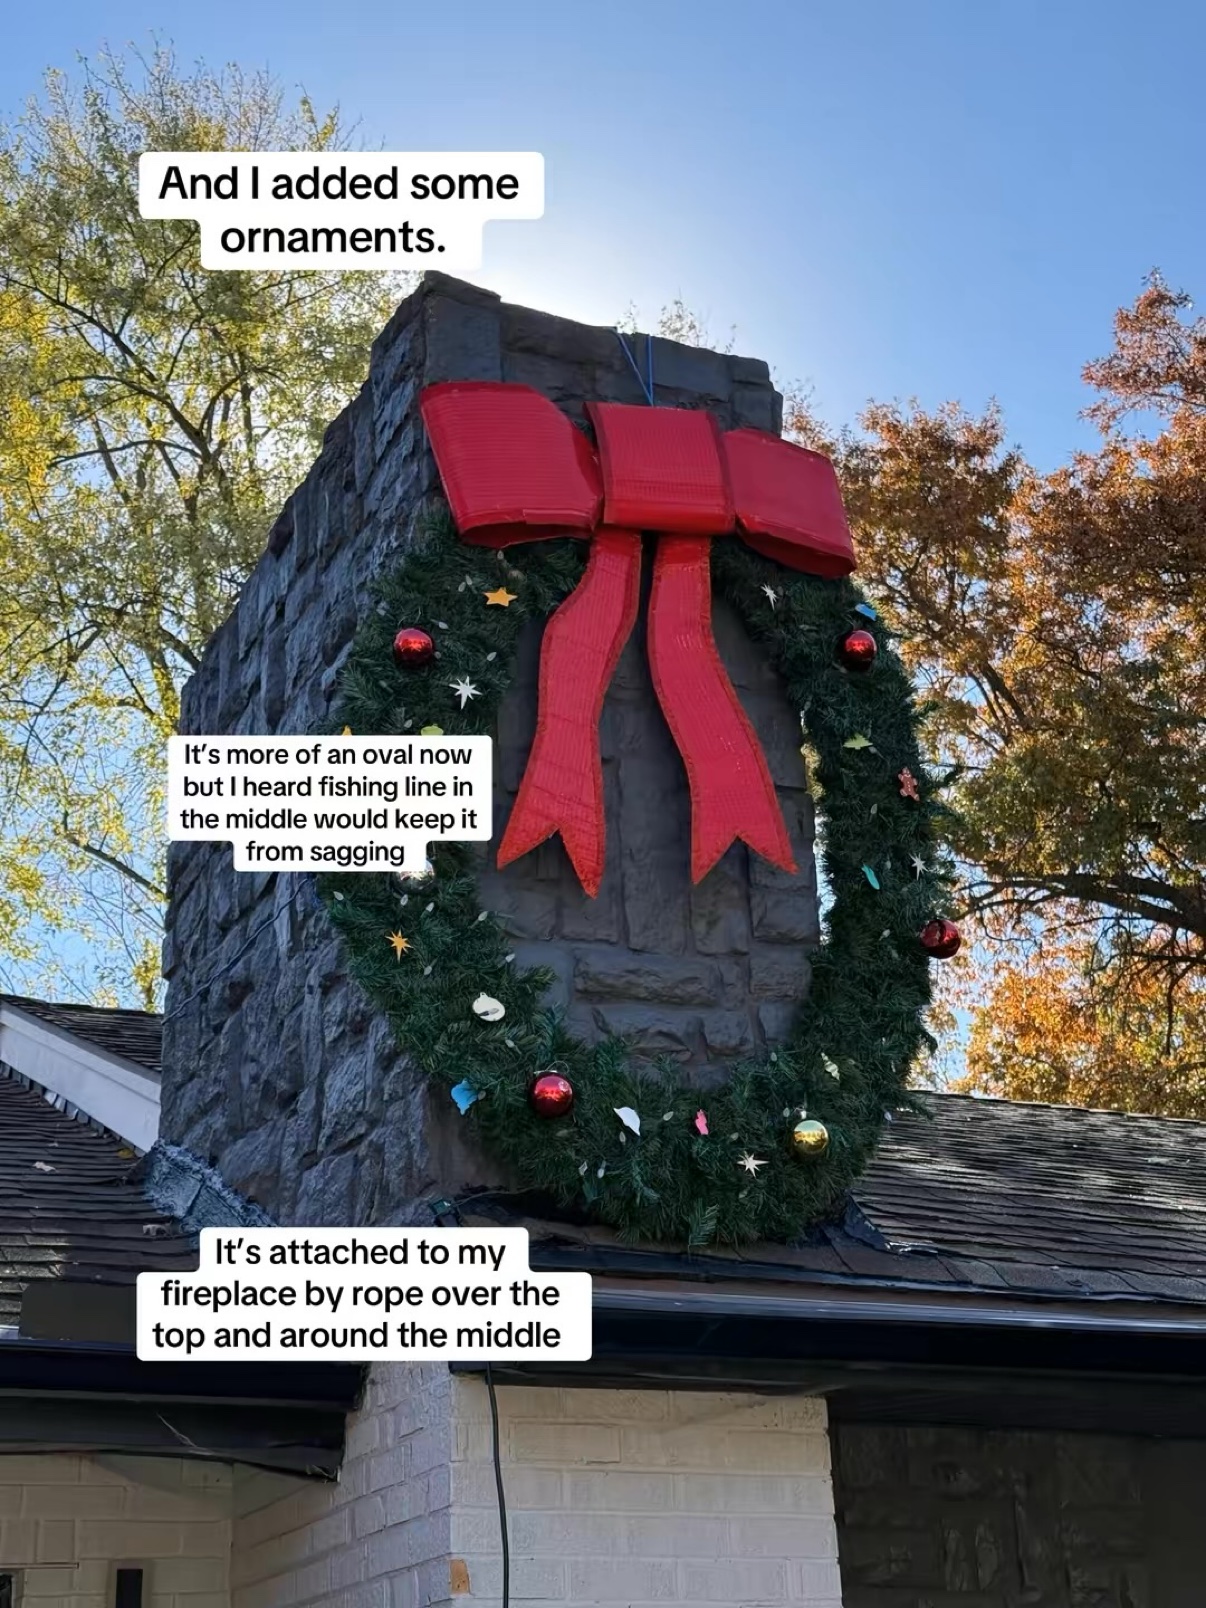
I added 2 strands of lights, then some ornaments. That is when it really starts to look like Christmas.
Step 10: Hang It
It is attached to my fireplace by rope over the top and around the middle. One honest note: it is more of an oval now, but I heard fishing line in the middle would keep it from sagging — so if you want a perfect circle, add that before you hang it.
Shop This Project
Want to make your own? Here is my Giant Wreath shopping list with everything I used, plus my DIY supplies and Shop my Home for more of the pieces in our house.
If you make one, I would love to see how yours turns out.
— Ryan